|
Rosie Hay Ceramics beautiful pieces weren't being shown off in her existing DIY photography, so I was delighted to be given the chance to bring her products to life in this shoot. Rosie has kindly let me share one of her photographs above to illustrate the difference that professional photography can make. Her beautiful mugs become the aspirational product they deserve to be with a photo you'd find in a glossy magazine. This photoshoot was a lovely mix of warm, tactile, neutral styling which speaks to the natural tones of the glazes and clay. With linens, wood, and dried foliage, the products are kept centre stage but the images have a warm and inviting depth to them. I’ve never had professional photos done for my small business Rosie Hay Ceramics before and so when I contacted Jilly to enquire if she could take some shots, it was a seamless experience from start to finish, with amazing photos taken for me of some of my work, to confidently share and use on my social media, for applications for exhibitions and some PR. The difference some great photos can make to a small business is priceless. Thank you Jilly, am recommending you to all my small business pals." If you would like to book a photoshoot you can do so here.
0 Comments
If you run a service based business a brand photoshoot is a fantastic way to create consistent visuals which help build trust and make your brand stand out. That could be in the form of a personal brand shoot which helps tell your story and share the face behind the business, or a product photography style shoot where we create a bank of images in the studio that align with your offerings.
If you'd like to book a brand photoshoot, you can do so here. It’s been two weeks since we finished our two week bathroom makeover and I’ve finally found the time to share the reveal! I can’t get over how much brighter the space feels after years of it being black and white! It’s certainly a more cheerful place to get ready in the mornings.
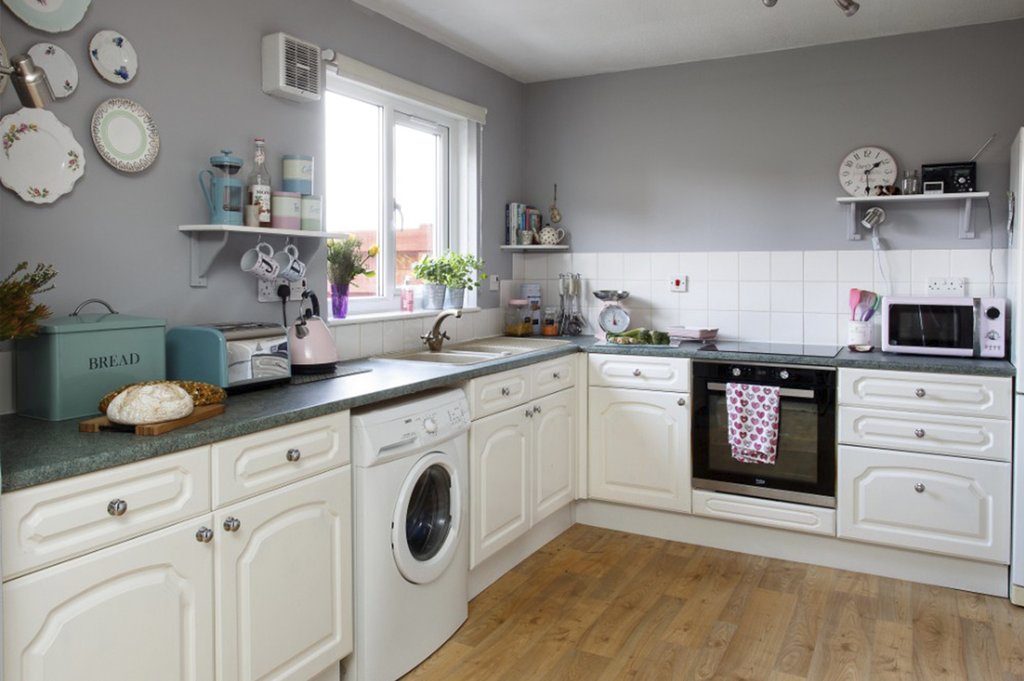
This project has been a long time coming as we've been planning and ordering the materials gradually over the last year. Initially, I used procreate to trace the existing bathroom so I could add layers of colour and pattern to work out the design. I made a moodboard alongside this to keep on my phone for shopping for accessories to check they would match the scheme. We wanted the feel of an eclectic boutique hotel, for leisurely baths and relaxing skincare routines. Once we knew what we were looking for we set up price alerts to get the best prices for the tiles which saved us a lot of money. The other big money saver was keeping what we could, and doing absolutely everything ourselves - David basically became a plumber and electrician with the help of YouTube (don't worry we've since had it checked over by qualified professionals!). We ripped out the old bathroom, kept the toilet and sink, then started to build it all back. The process took the two of us 10 long days but I'm so glad we did it that way! It's definitely our biggest project to date and the most satisfying because of it. I'll pop a list of our purchases below, if I've missed anything your curious about just drop me a message. Floor Tiles / pink carnaby / @porcelainsuperstore Blue Panelling Paint / dusky blue / @ronseal.uk Pink Wall Paint / fairy’s tutu / @valsparpaintuk Blind @laredoute_uk Fresh as a daisy print @ohsodaisy.shop Wild flowers print @mellow_prints Rug @primark.home Lights @dunelmuk Bin @sostrenegrene Green Cabinet Paint @littlegreenepaintcompany garden Radio @robertsradio revival petite Soap dish & plant pot @rosiehayceramics I've already used the bathroom for a couple of photography set ups! It's so great to have a space which flows with the rest of our colourful home. We've had another kitchen update! If you've been around here a while, you'll maybe remember we had a mini kitchen makeover a few years ago. It involved tile decal stickers and painting the cupboards pink. Well, the pink cupboards have stayed, but we now have some beautiful new tiles - plus a few other changes!
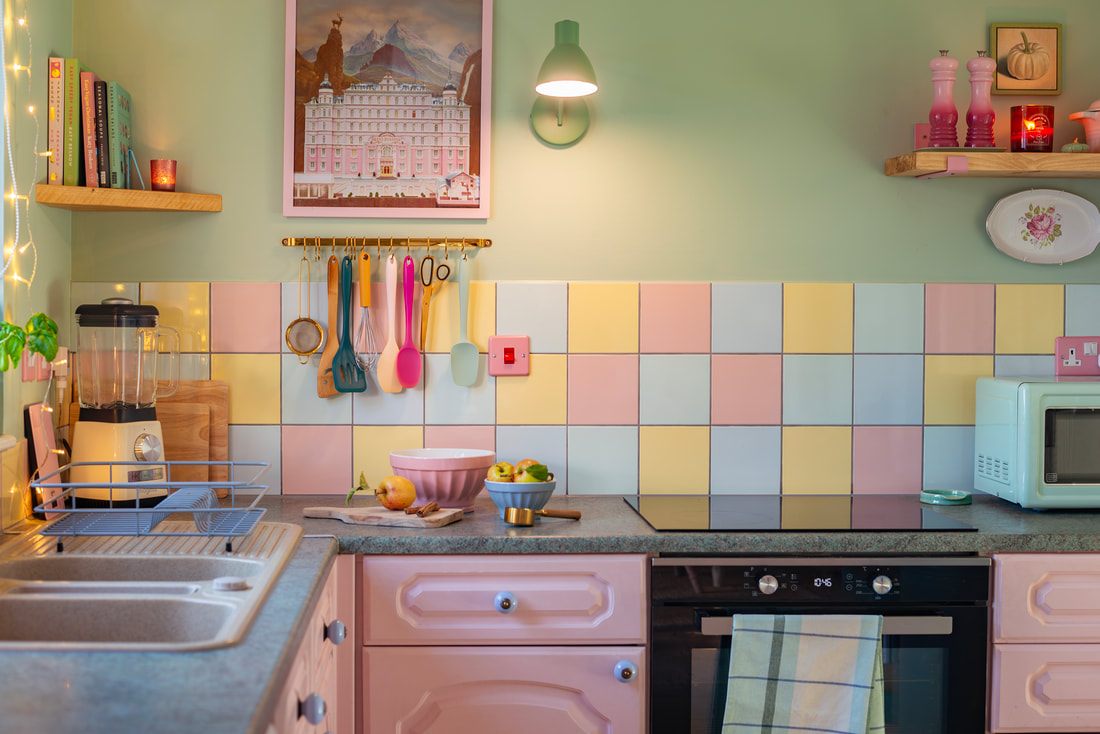
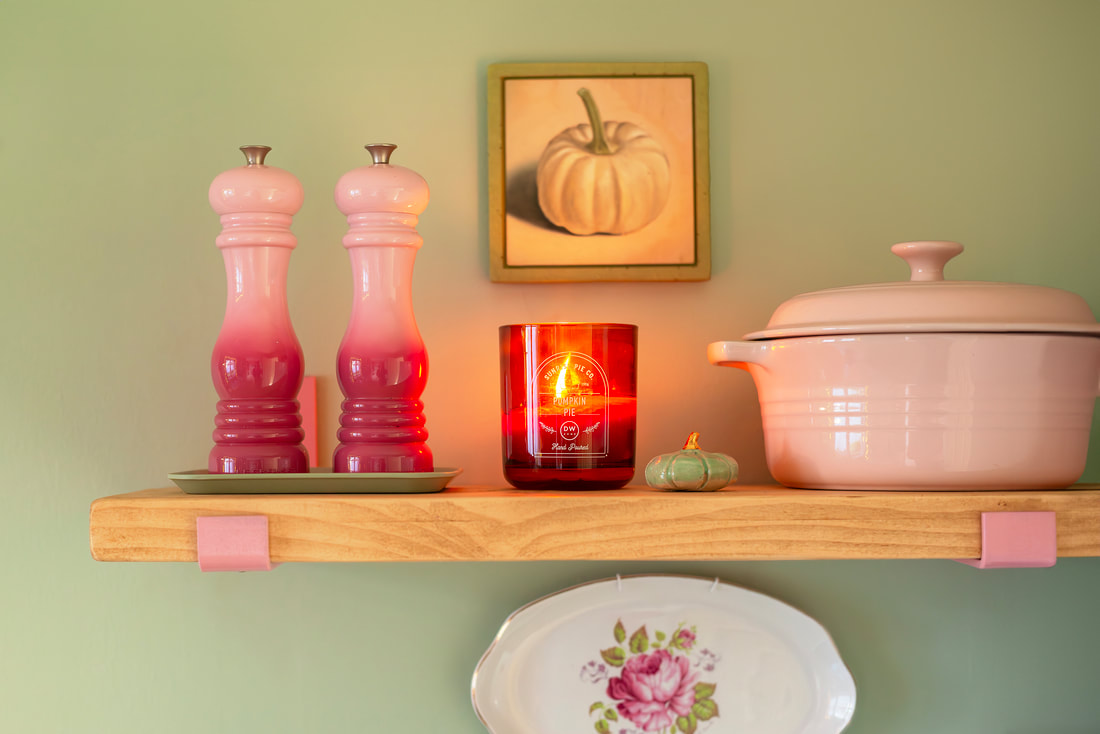
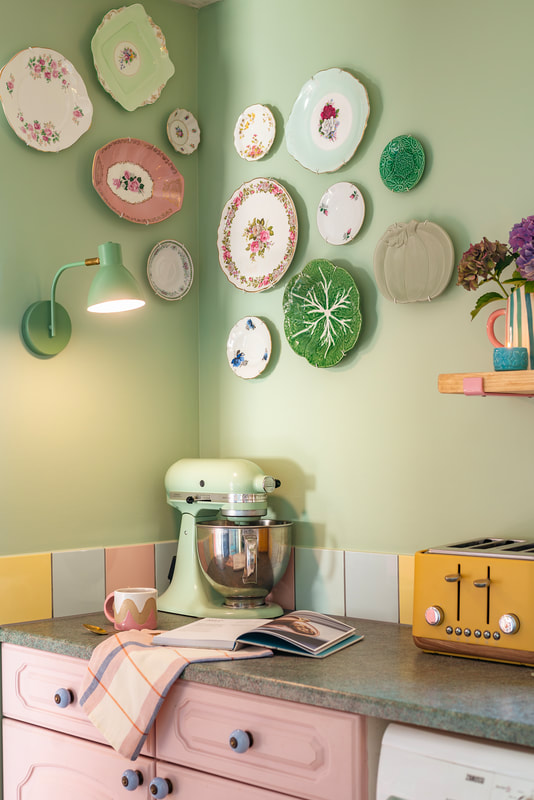
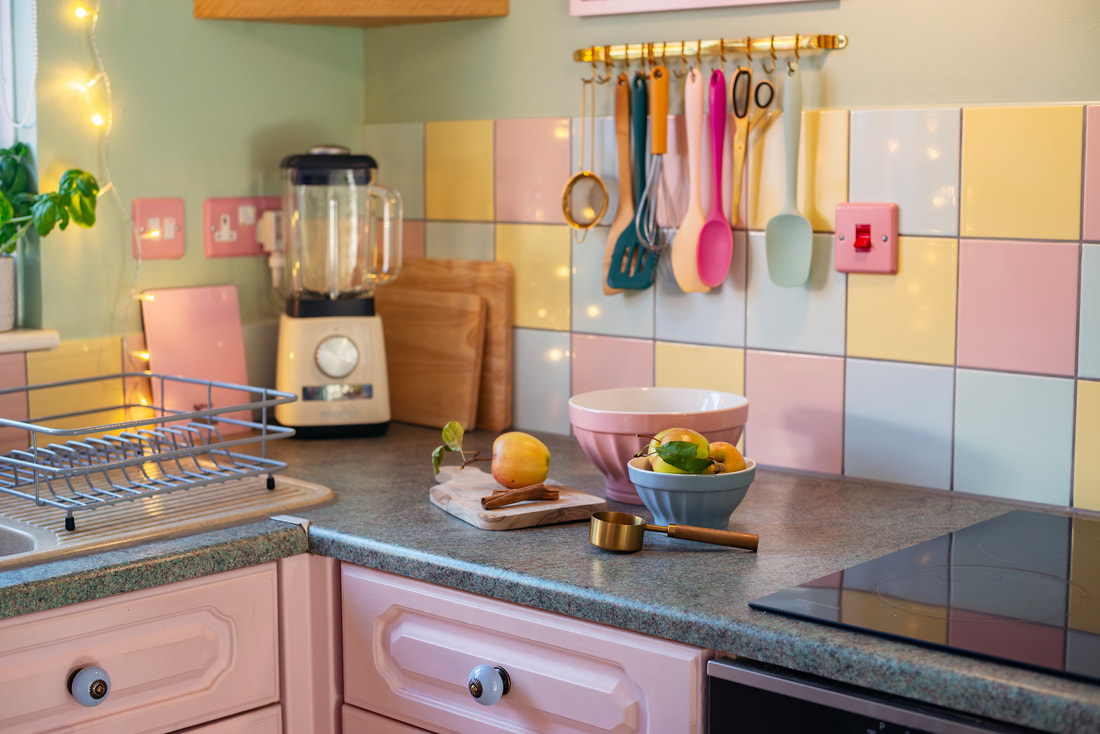
I spent quite a while gathering tile samples; I initially did want something patterned or a classic metro style. In the end I couldn't choose a colour so decided to go for a patchwork of pastels and a darker grout for a fresh and fun vibe. The tiling was a big job which grew arms and legs and resulted in replastering the walls, so naturally we had to repaint the kitchen as well. I didn't want anything which would distract from the tiles too much so went for a soft green which suited existing appliances and the pink units. Since the old shelves had to come down during the process I thought now was the time to treat ourselves to some rustic new ones for added cosiness. We ordered some made to measure, and I found pink brackets to go with them. One of the slightly complicated jobs was switching over all the sockets to cute pink ones - we also added a couple of double sockets as our kitchen has always been lacking plugs. This has given us so much more flexibility with the layout of our appliances, and the pink makes a feature of them which I love. Finally, we updated the lighting by adding stylish green wall lights which stop the need for big light brightness when pottering in the evening. These are actually not wired in because we only decided on them after tiling! But, we did find rechargeable usb bulbs which mean they work wirelessly. I've made a list of kitchen purchases below, but if I've missed anything you're interested in, let me know.
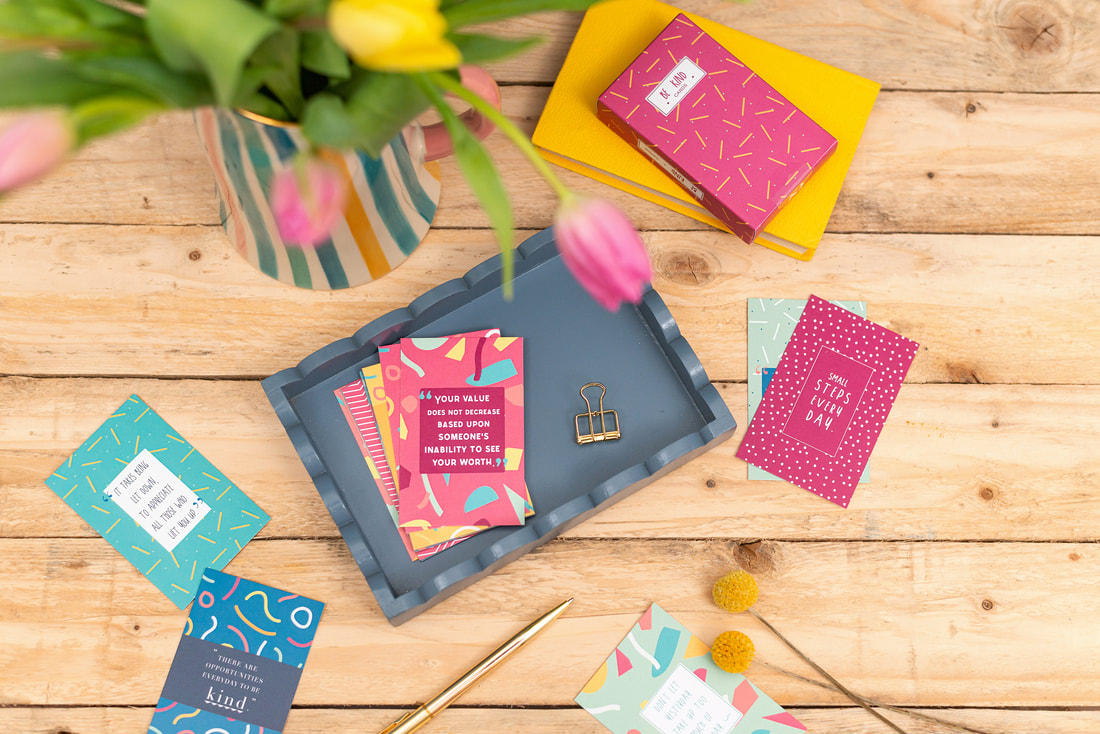
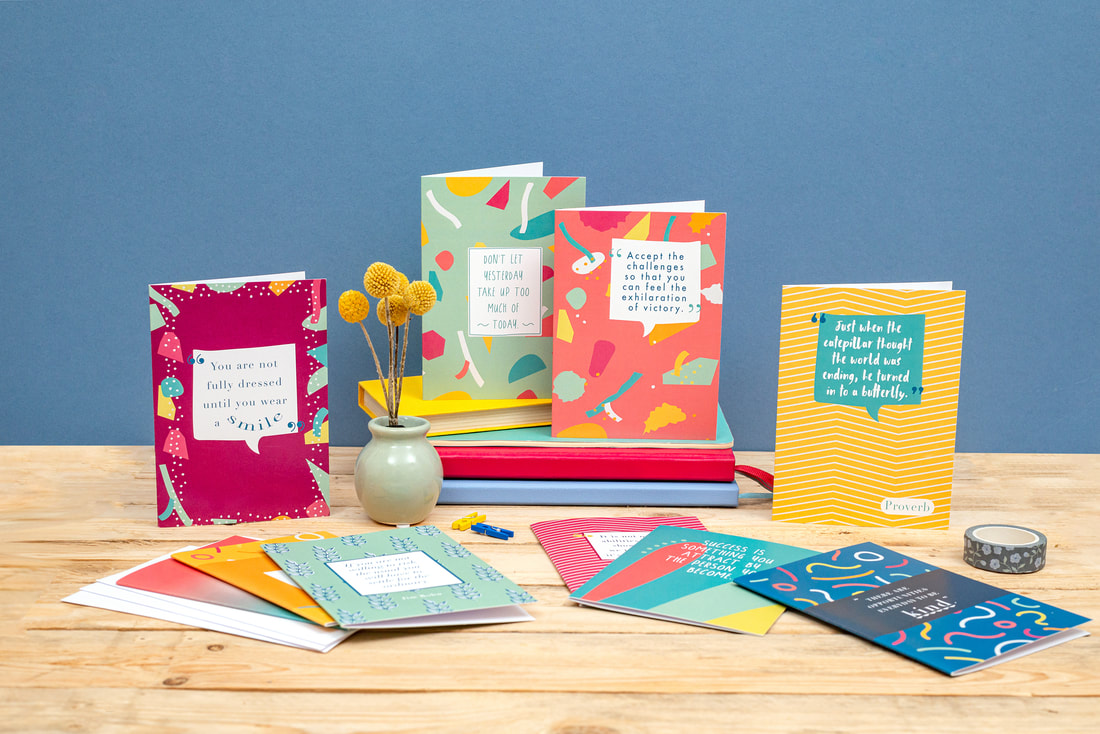
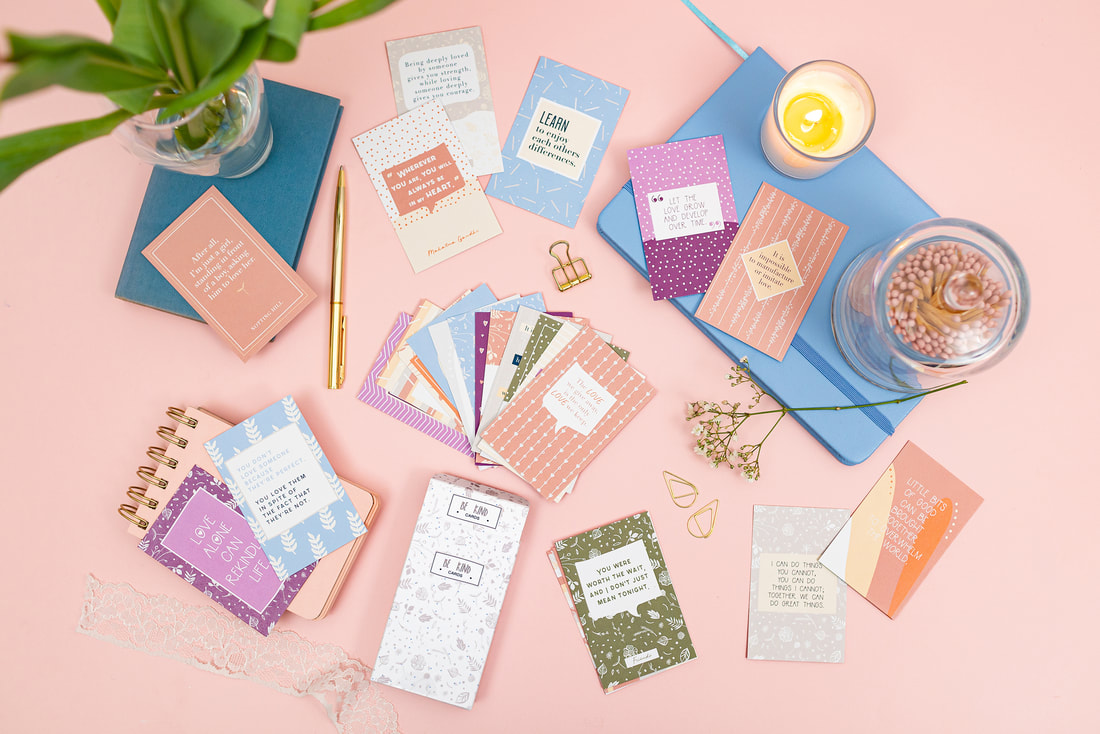
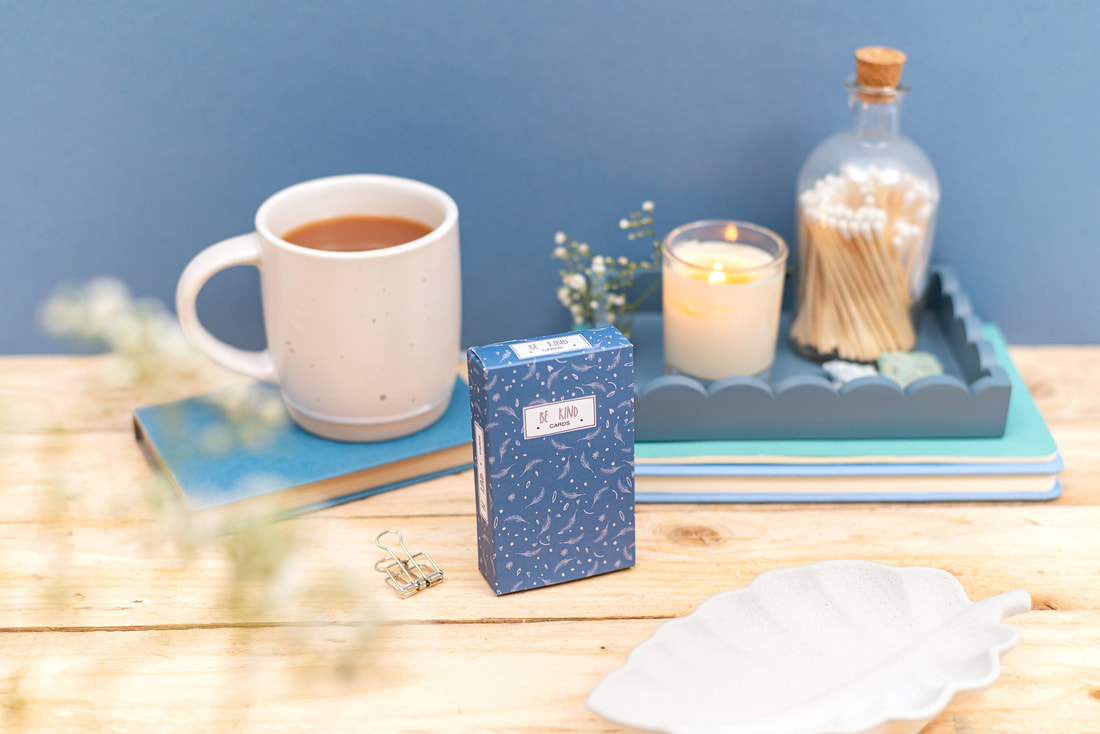
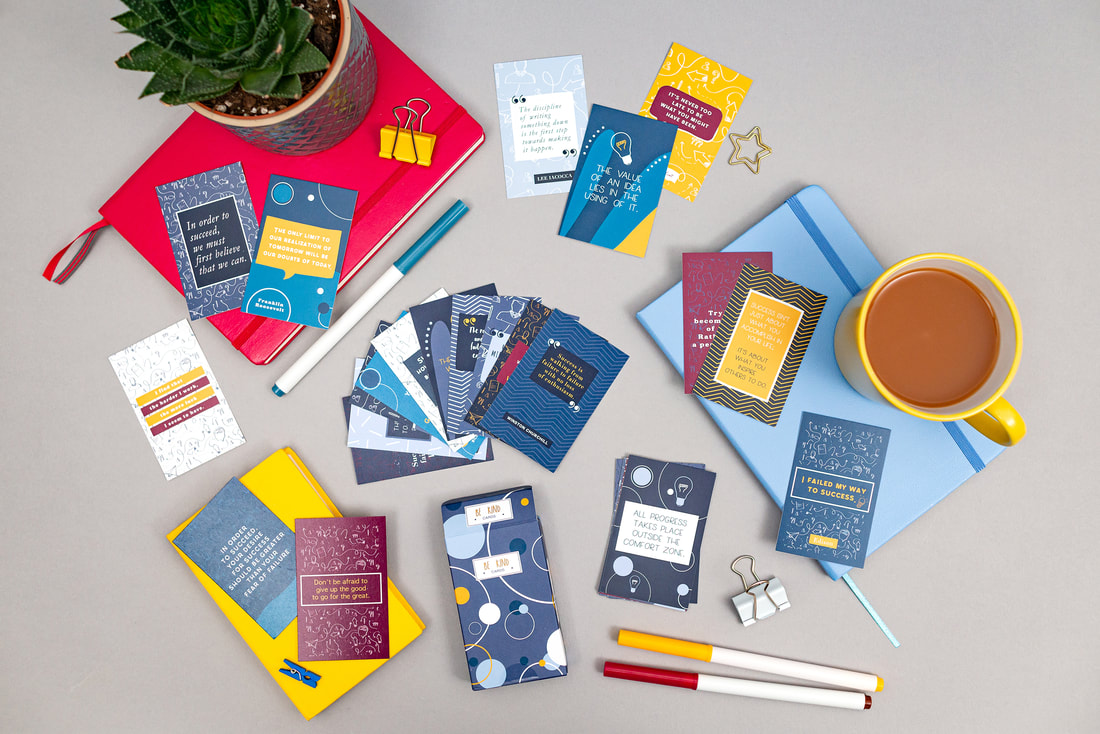
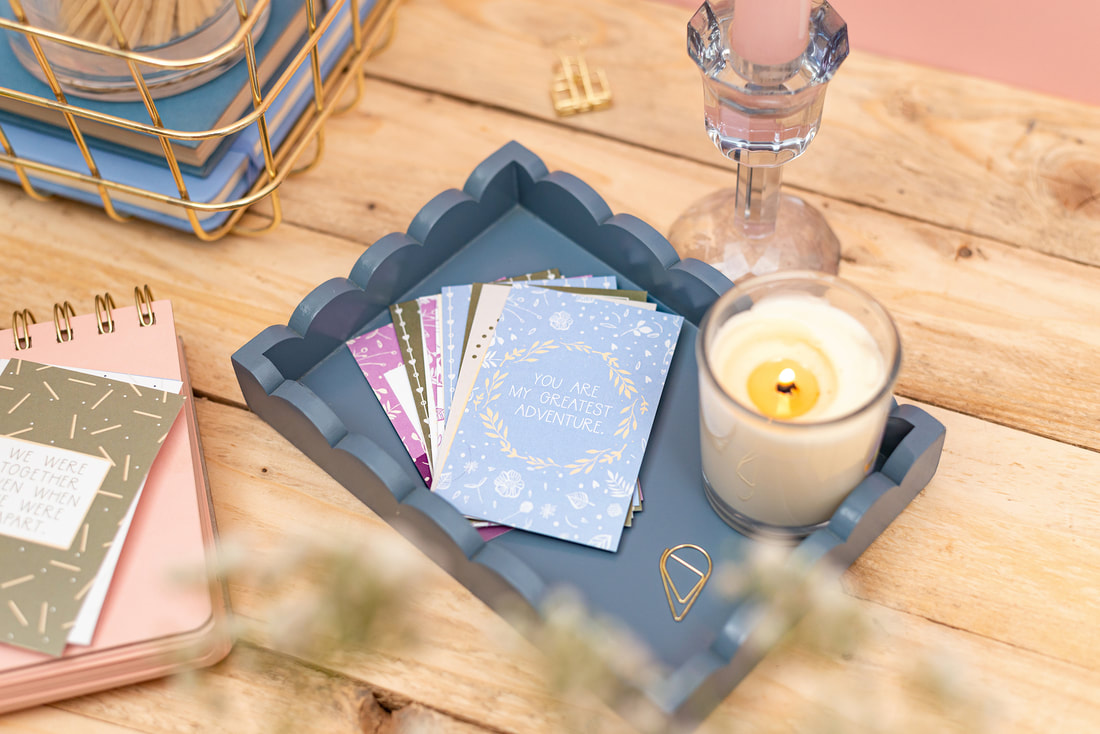
Next on our home DIY list is the bathroom, our biggest project to date! Stacey of SD Studios got in touch after being recommended me by the lovely Ceramic Button. She explained that they were launching their online shop and were in need of a collection of lifestyle images to capture the mood of their product range. These would be used on socials as well as the new ecommerce site. The main products I was to focus on for this initial shoot were the Be Kind cards which come in four varieties - original, love, grief and business. Stacey went me details on the styling varieties for each but I wanted to make sure the images would have enough similarities to keep the brand visuals cohesive. I chose natural wood as the main background for a homely feel since the lifestyle aspect was important. The wall and other backgrounds was mainly blue to suit their branding. The scene changes from collection to collection but there are some props which intentionally feature throughout to help the images flow - notebooks, scalloped tray and candle. Here's what Stacey had to say about the photoshoot: We are thrilled with the product photoshoot from JillyJilly Studio. They’re exactly what we had wished for, and really do bring our products and personality to life in our new gift shop. The photography really captures the essence of what our products are about, and elevates them to a new level. They have brought a much needed freshness to the collection. We cannot express enough how pleased we are with them, and cannot wait to hear what our customers, friends & family think of the new look. As well as the outcome being perfect, the communication from booking the shoot to the delivery of the photographs was clear, enjoyable and professional. Thanks Jilly!" SD Studios launch their online shop this week so check it out to see more of the product images and browse their fab products.
https://shop.sd-studios.co.uk/collections/all If you would like to book a photoshoot you can do so here. 1. Professional photos make a world of difference when putting together a wholesale catalogue. As well as a stand-out cover, you can really share your brand vibe with potential stockists. White cut-out pics are perfect for making an easy-to-use line sheet to help with ordering too.
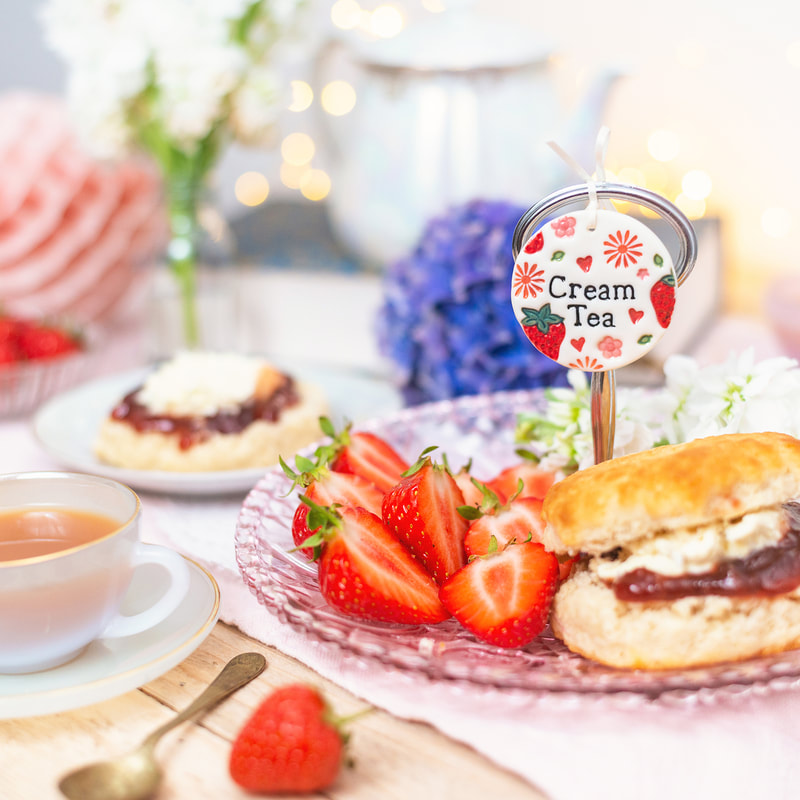
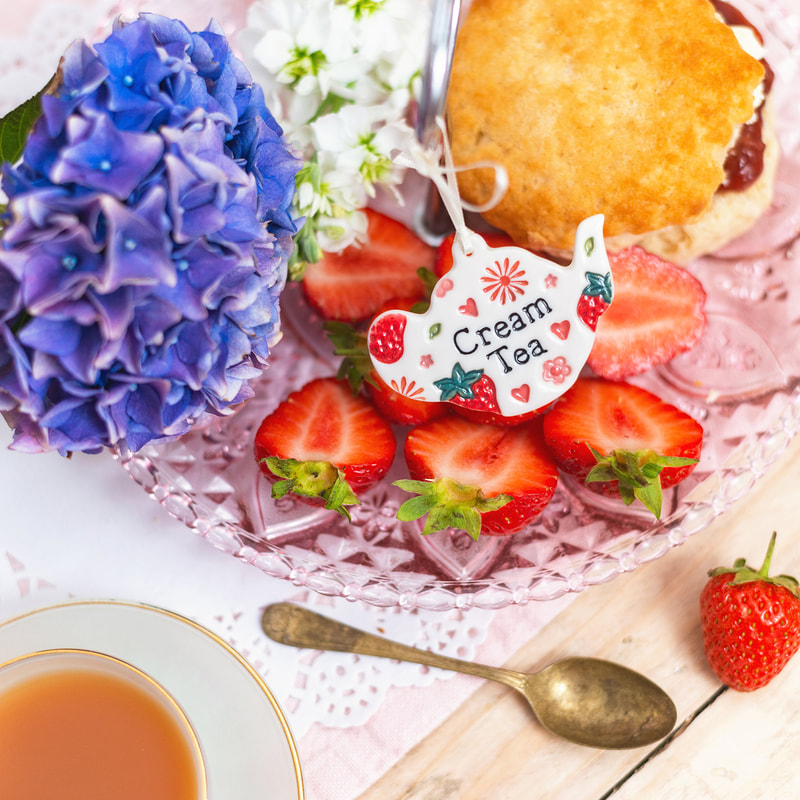
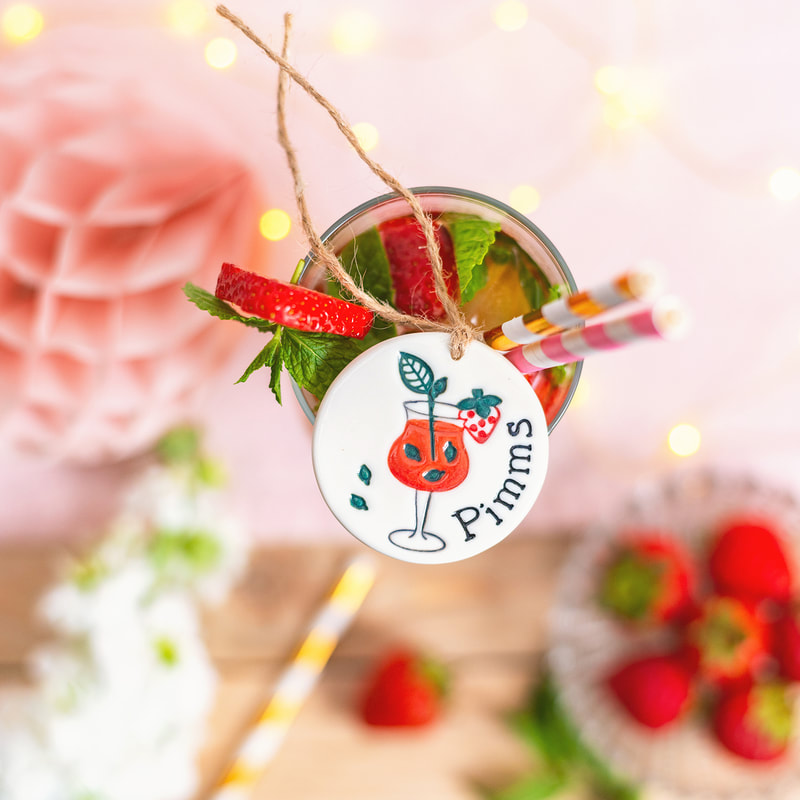
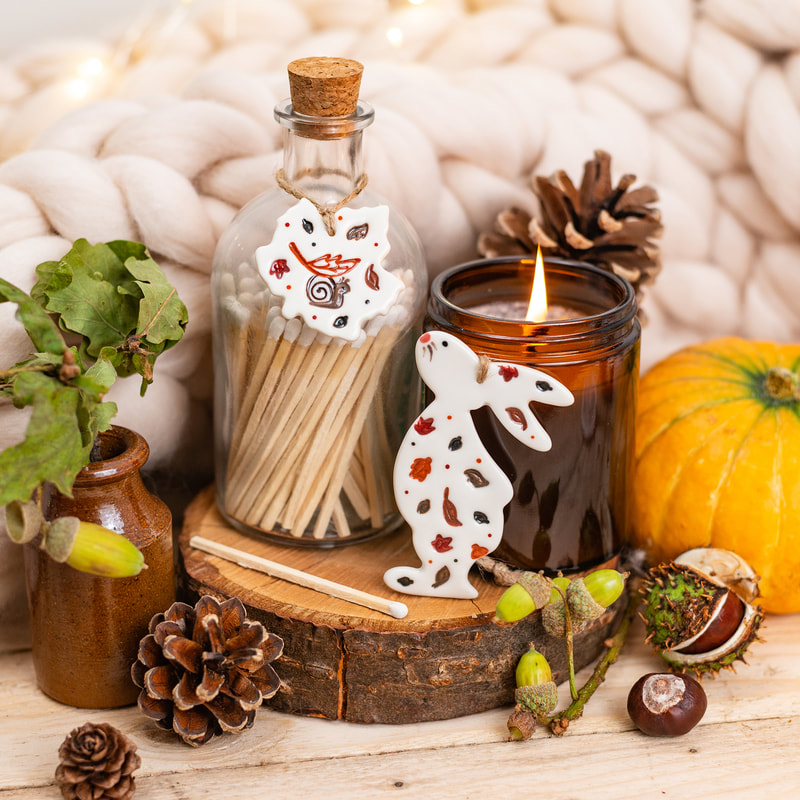
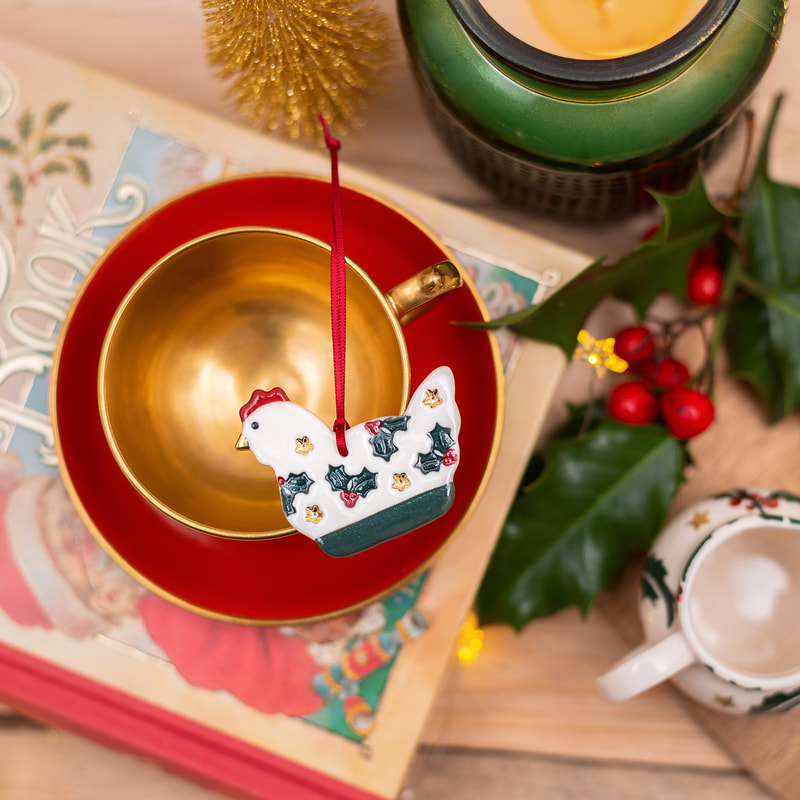
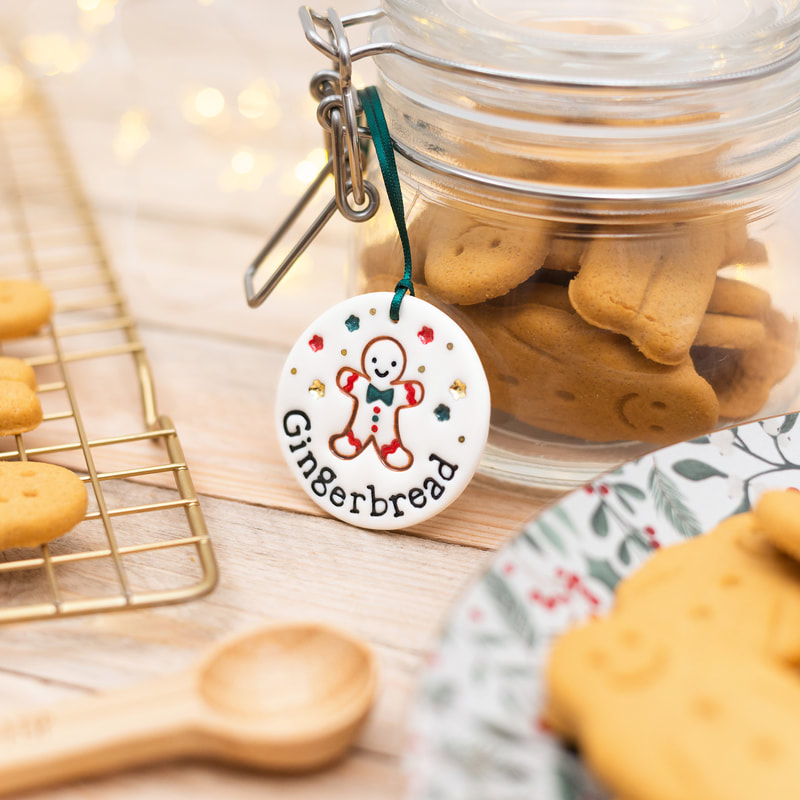
2. If you’re taking part in a trade show you’ll want to make the most of your stand display - it’s cost you a lot to be there! Hanging large-scale prints of your favourite images is a great addition for catching passers-by at a busy event. Showing your best lifestyle shots can really show potential stockists what your brand is about and help them tell if you’re the right fit for their shop. 3. When setting up your profile for a trade show you can usually supply a handful of images - organisers are always on the look-out for images they can use on their website home page and socials to promote the event so make sure yours are irresistible. 4. Selling on Faire? The same applies, the better your images are the more likely you are to pop up on their featured suppliers. 5. Having beautiful images also makes life easier for your stockists as your products are easy for them to add to their website and promote to their customers. The more they sell, the more they’ll order from you. Summer Autumn Winter Since our first shoot at the start of the year, I've loved working with The Ceramic Button on a range of seasonal shoots. Claire has such a variety of ceramic 'buttons', tags and decor that it's been fun working out how to set up different themed scenes to suit.
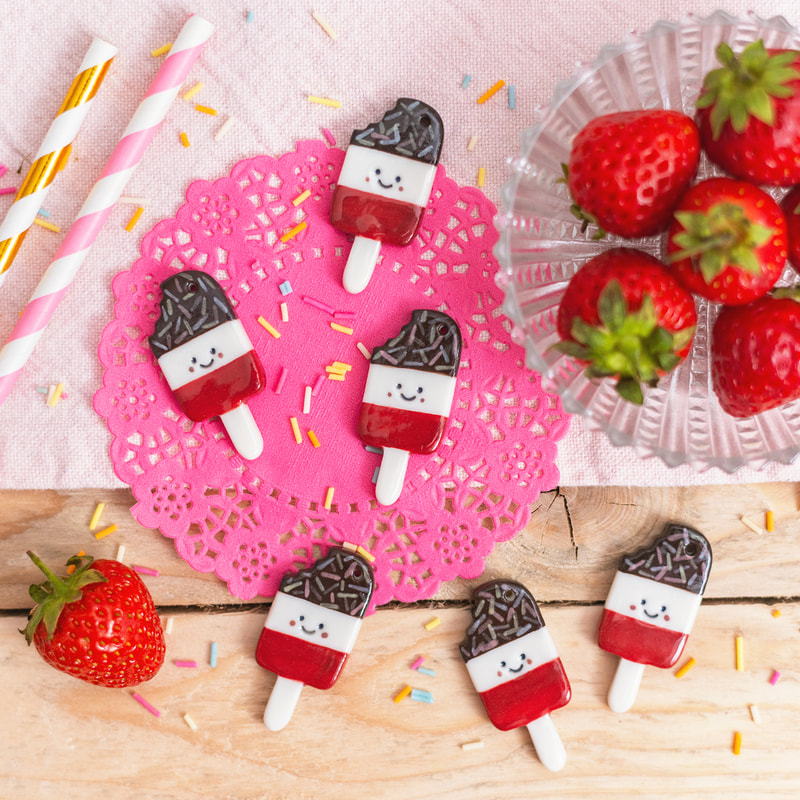
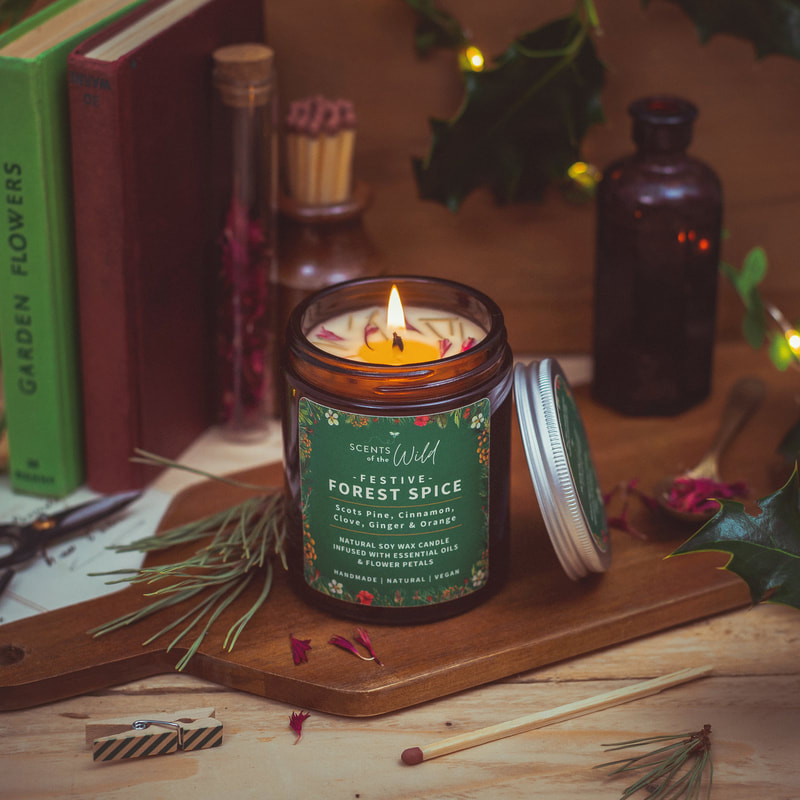
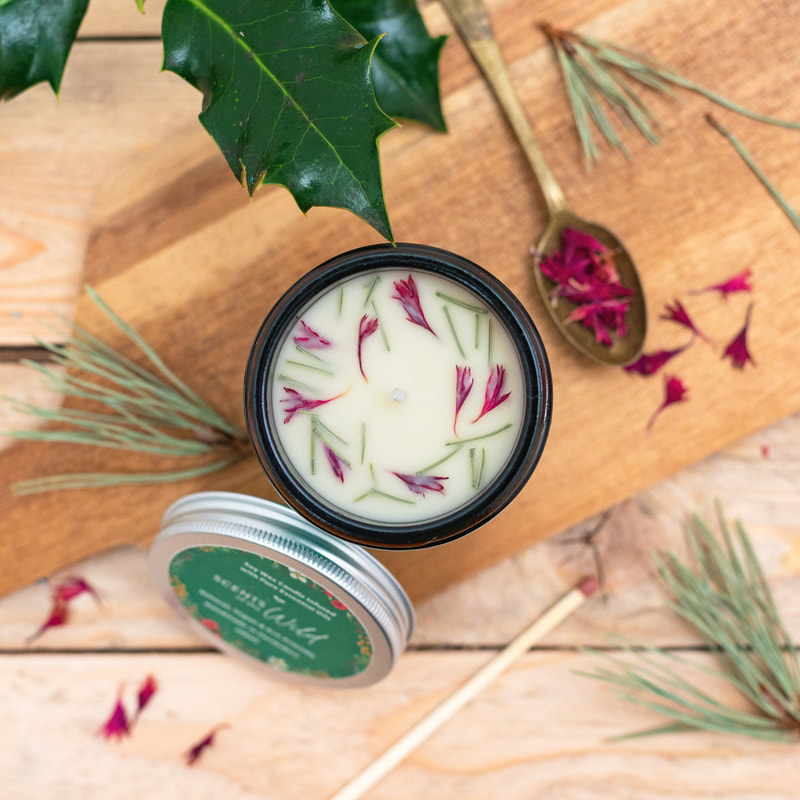
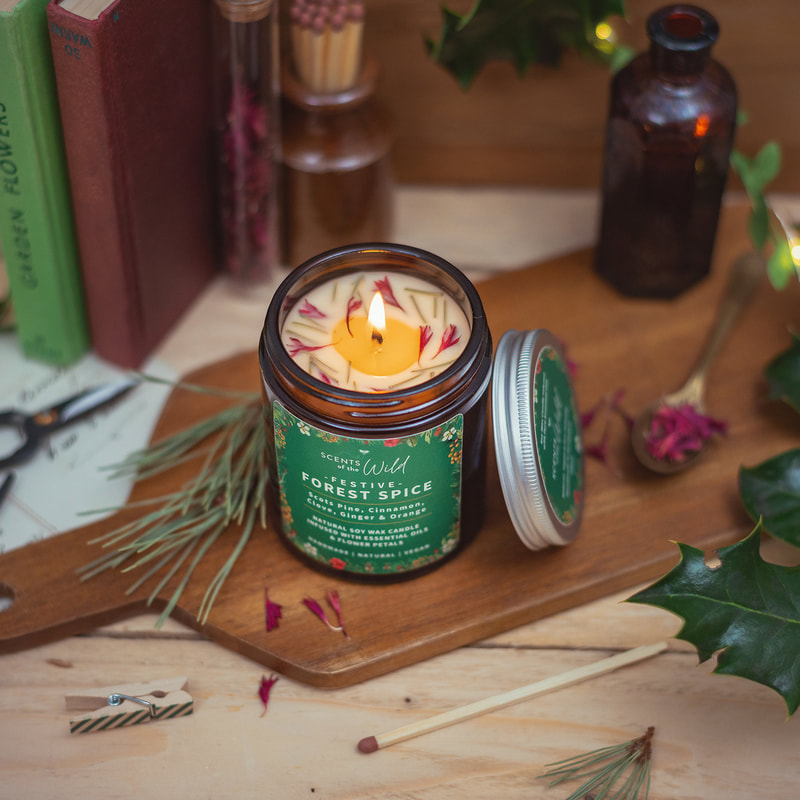
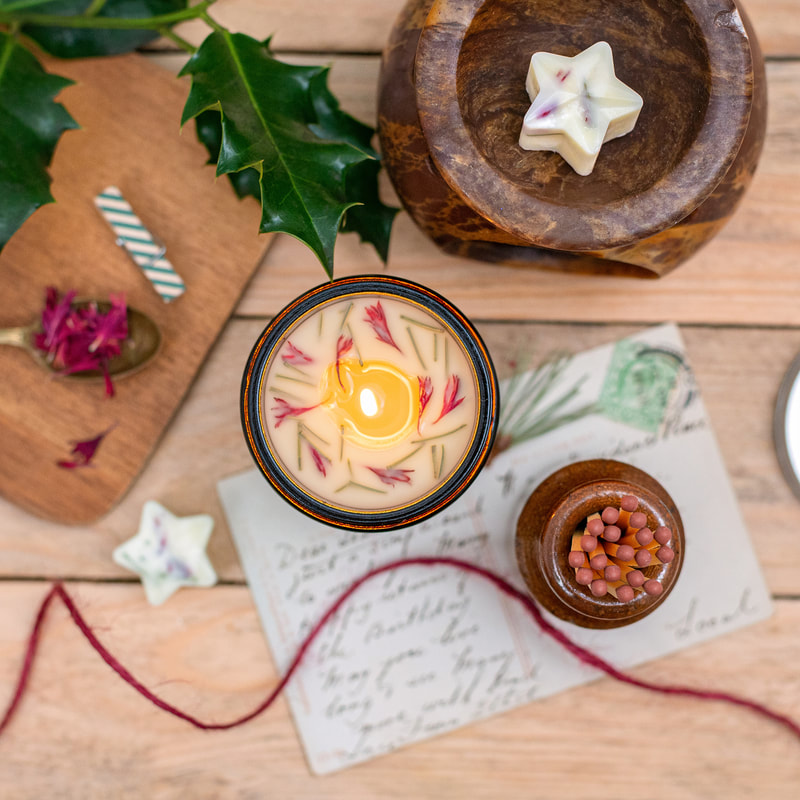
For summer we had a garden party/afternoon tea theme with cocktails, scones, fresh flowers and berries. In autumn, I sourced some early pumpkins and added cosy candles - Claire sent some acorns and conkers she managed to find too. Finally, for winter we had a couple of different scenes, more traditional cosy Christmas tea with reds and greens, and a baking set up to suit the other products. I kept the wooden background and bokeh lights for consistency. If you'd like to book a seasonal photoshoot you can do so here. I'm currently booking for February/March 2023. Rachel from Scents of the Wild booked a mini shoot so I could update her Christmas candle photos to work with the images I shot earlier in the year.
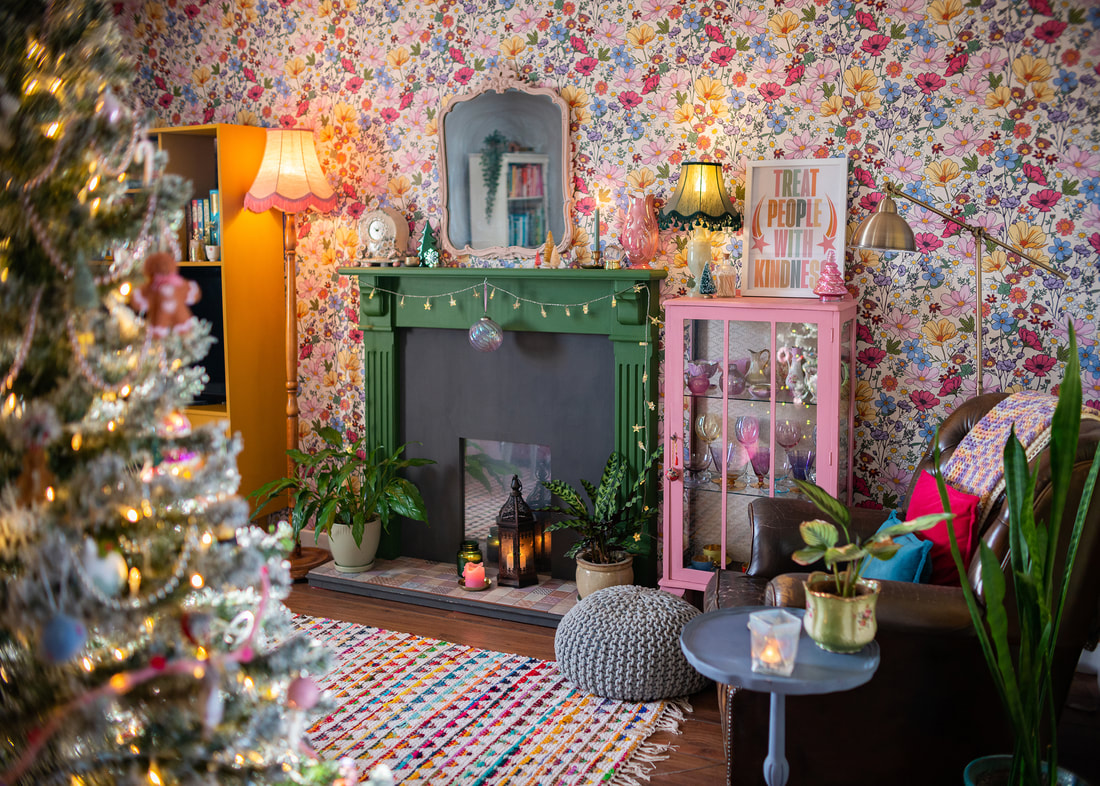
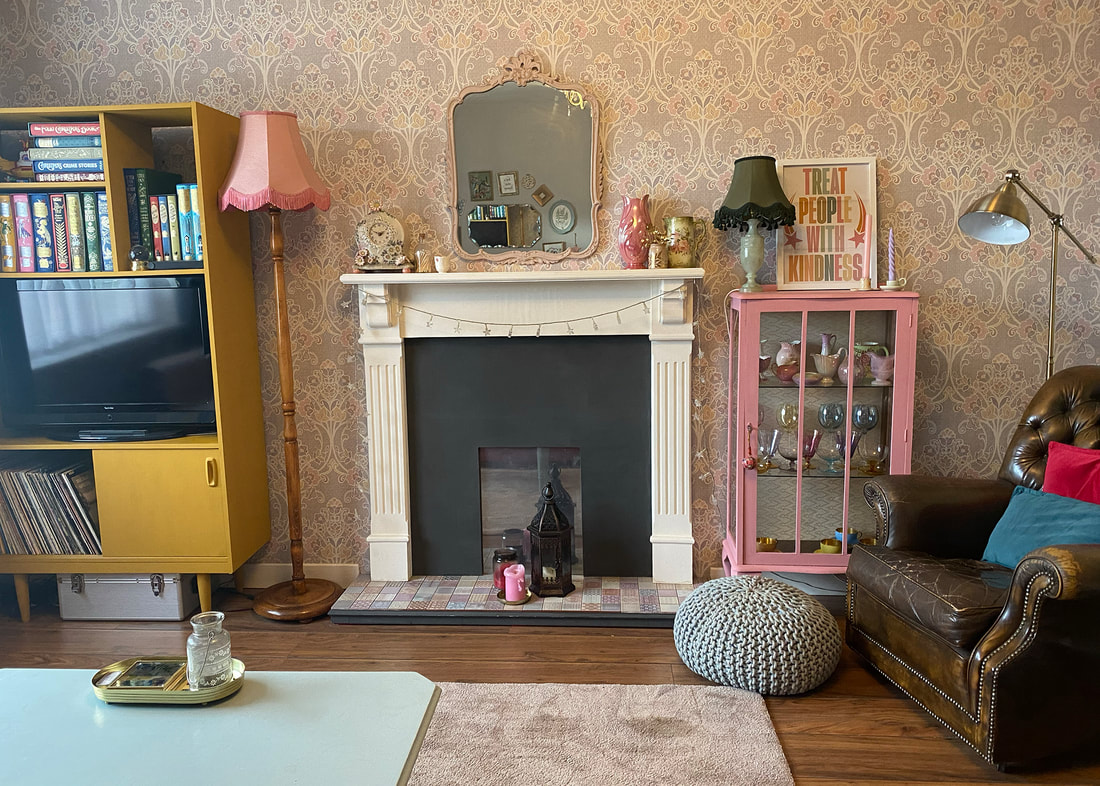
I used many of the same props and set ups for consistency but with a few subtle differences to add a festive twist. Red twine, holly, fairy lights and striped pegs were in keeping with the apothecary theme but definitely give the photos a Christmassy edge. A mini shoot is perfect for updating seasonal images - it's also super handy having some extra content to share on socials at this busy time of year! If you'd like to book a photoshoot you can do so here. Before *Lust Home gifted me the wallpaper and paint featured in this post. All opinions are my own. I was already a huge fan of Lust Home wallpapers after using two of them in our retro caravan makeover, so when they asked if they could send me some for a future project I jumped at the chance to transform the living room. It was on my to do list for next year anyway but there’s no time like the present when your favourite interiors brand wants to collaborate!
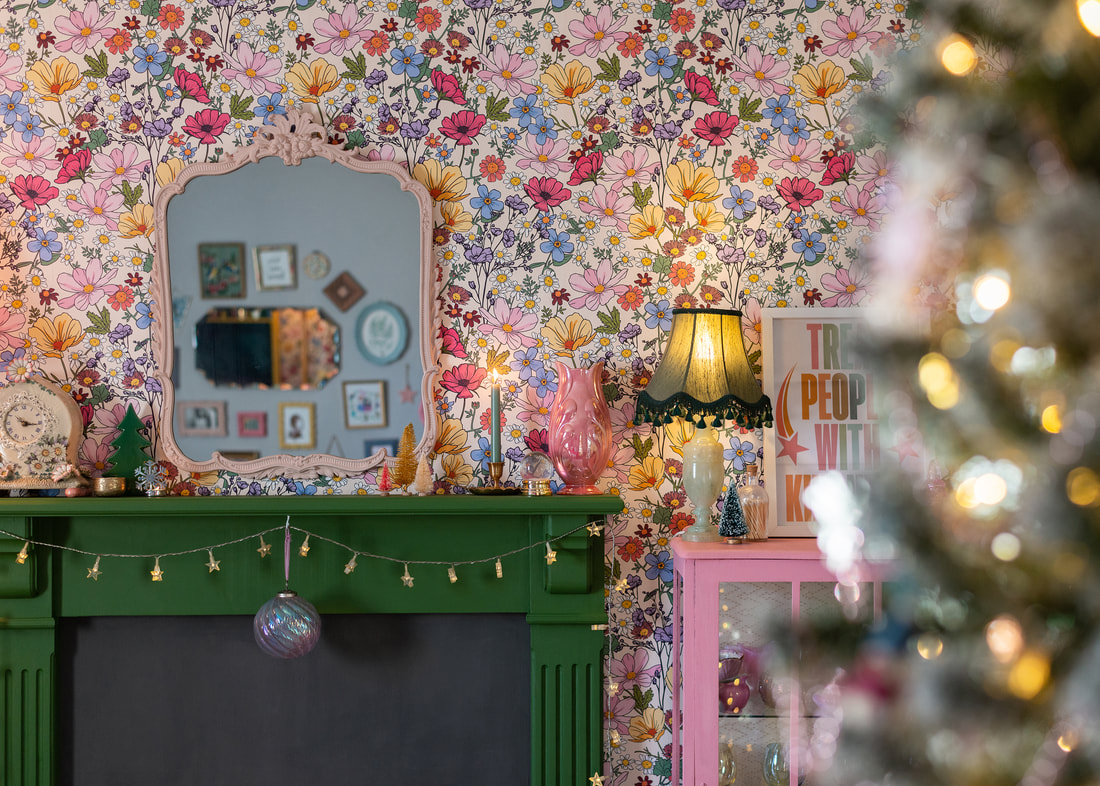
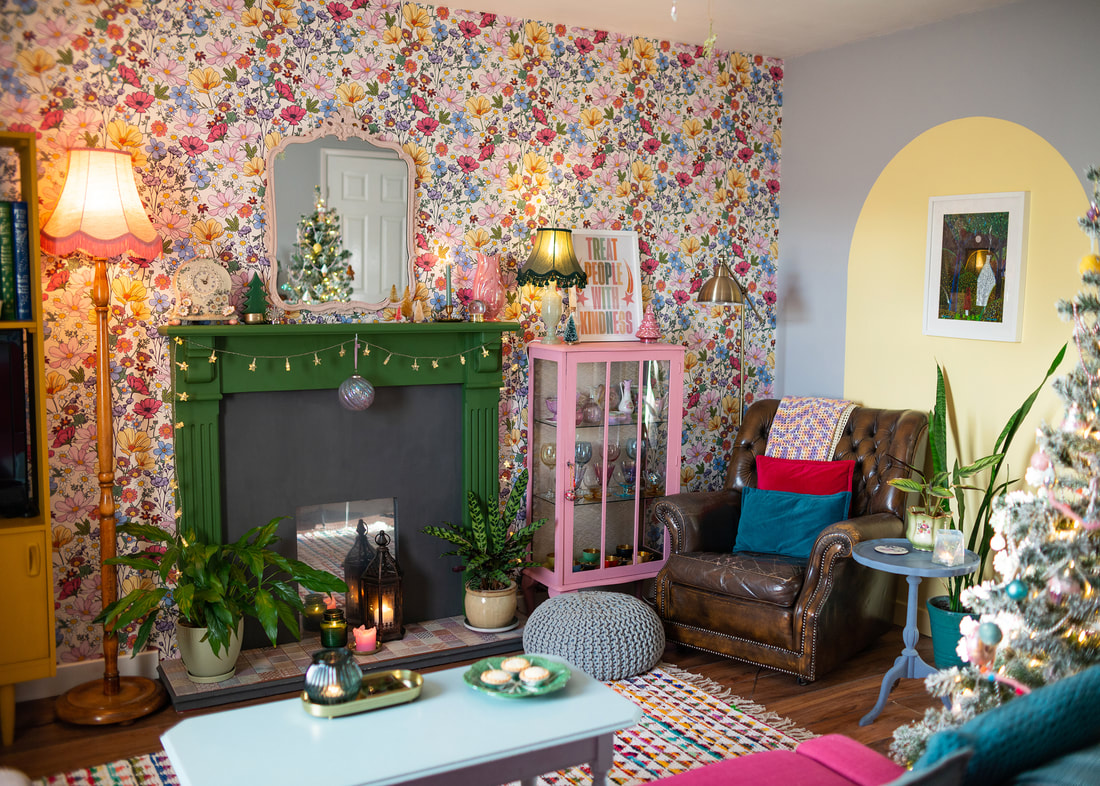
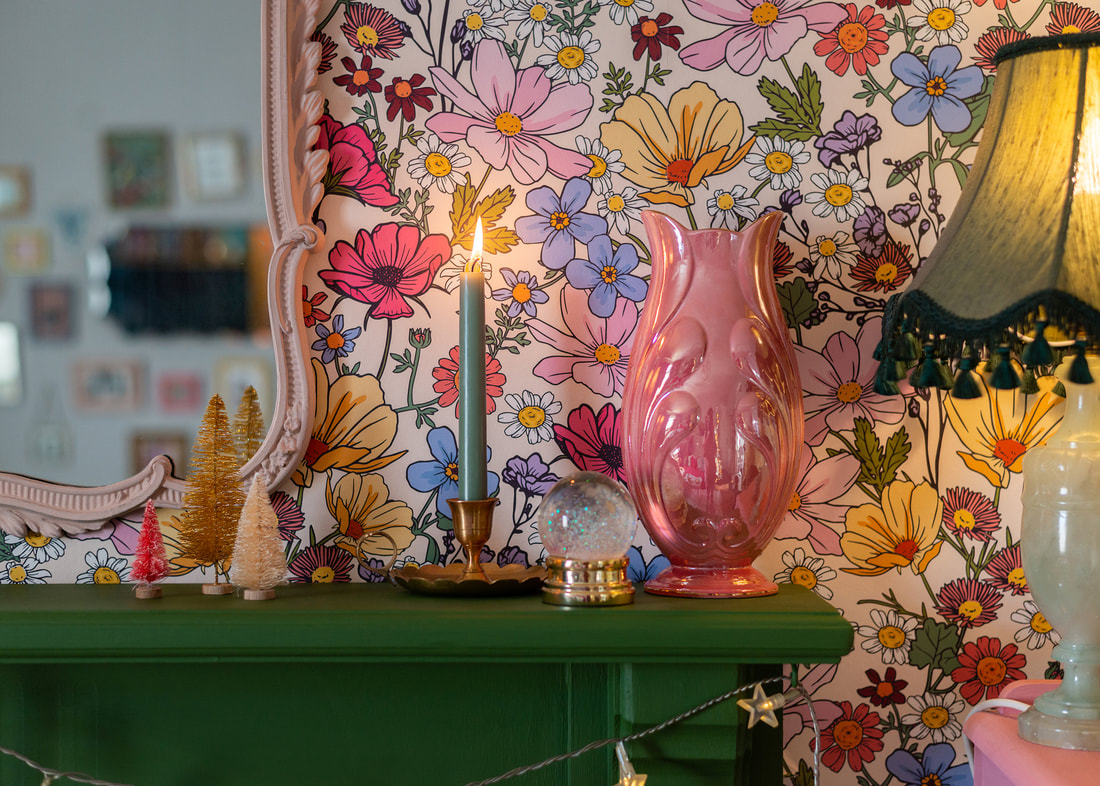
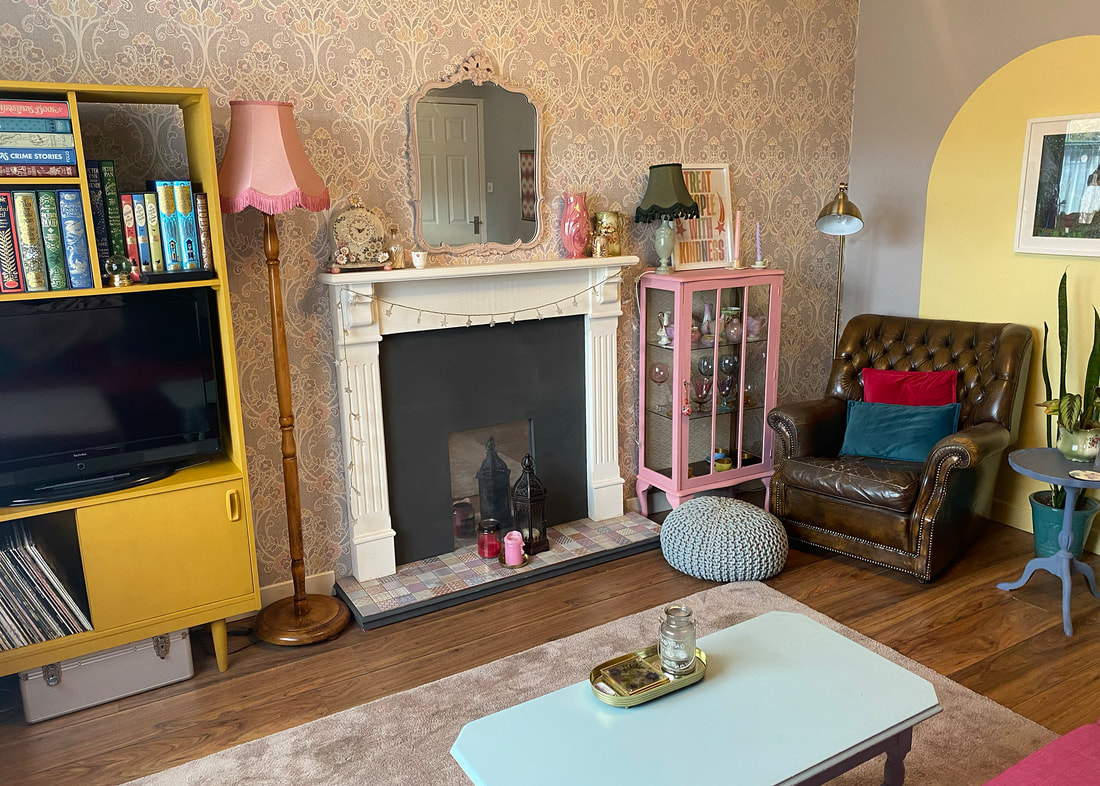
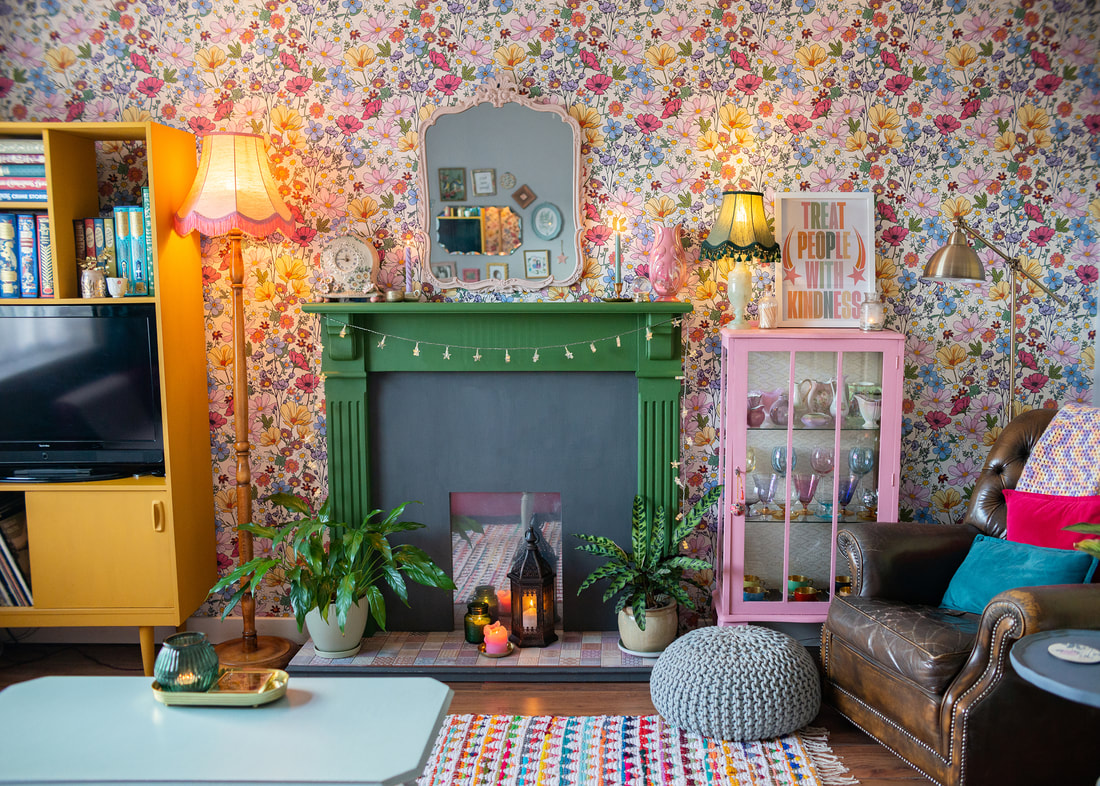
I chose some samples which arrived quickly and were such a good size for getting a proper feel for the pattern and colours. The paint samples are stickers so you can pop them directly onto where you’ll be painting which gives you a much better idea of how it’ll look in the light of your space. I went for She’s a Wildflower (brights on cream) and Smashed Avo paint to give the fire place a cosy update. The paint is actually an eco conscious (yay!) matt emulsion (meant for walls) but I’ve used other matt emulsions on furniture before - as long as it’s sanded and primed and not a high traffic piece it should be fine. You can always seal with a matt varnish if you’d like extra protection from scuffs. The wallpaper is perfect (shout out to Kelly of Oh So Daisy who designed it) and it really ties in the colours of all the different vintage furniture in the room. It’s paste-the-wall which makes it easier to hang, and a really nice thick weight to it. The makeover wouldn’t have been complete without a new rug. Our current beige rug was a temporary fix after an unfortunate incident with a glass of red wine ruined the previous one. When I found this colourful recycled cotton rug from La Redoute it was love at first sight, but I was a little worried it would be too much with the rest of the decor. When my Mum (who came to share her wallpapering skills) saw the rug she seemed concerned too, but once it was all in place she admitted: “it’s mad… but it works”. I am absolutely over the moon with our living room makeover - after transforming the caravan I found I had the confidence to go bolder in our home. I never thought I’d be a maximalist but it’s just so much more fun! Florals aren’t the obvious choice for winter but it turns out they look magical with the Christmas decorations and glow of twinkly lights and candles. Almost like a fairy grotto. I can’t wait to style the space when spring comes too.
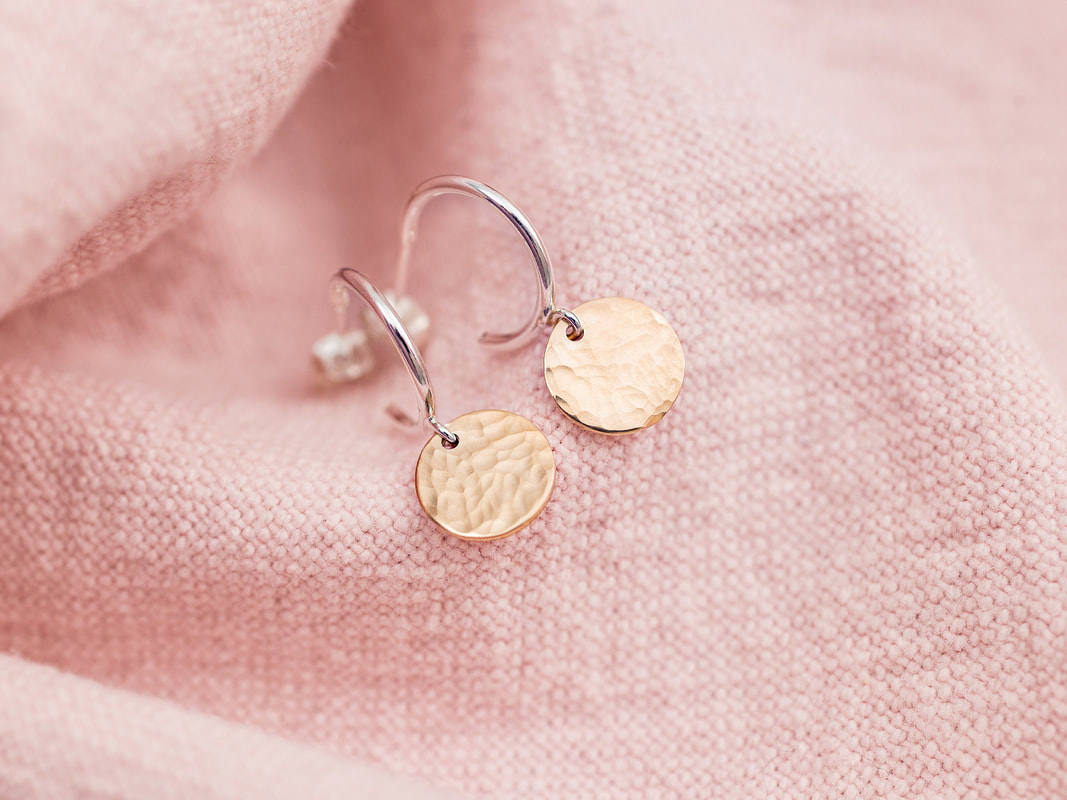
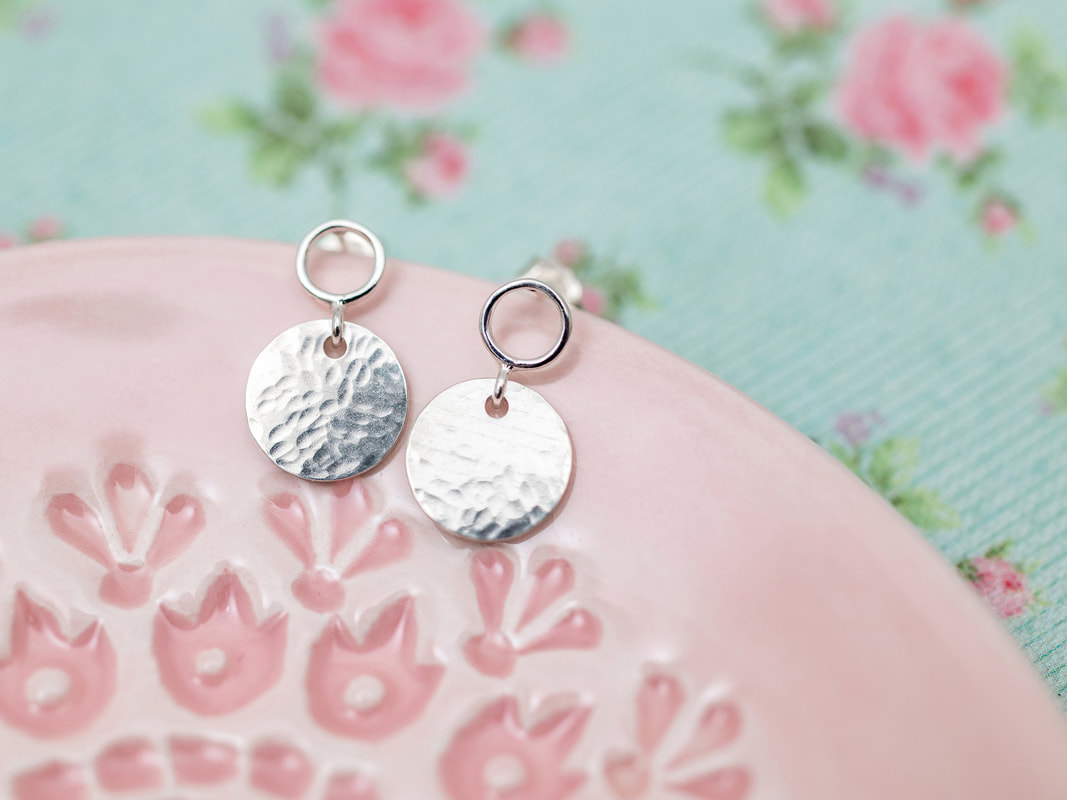
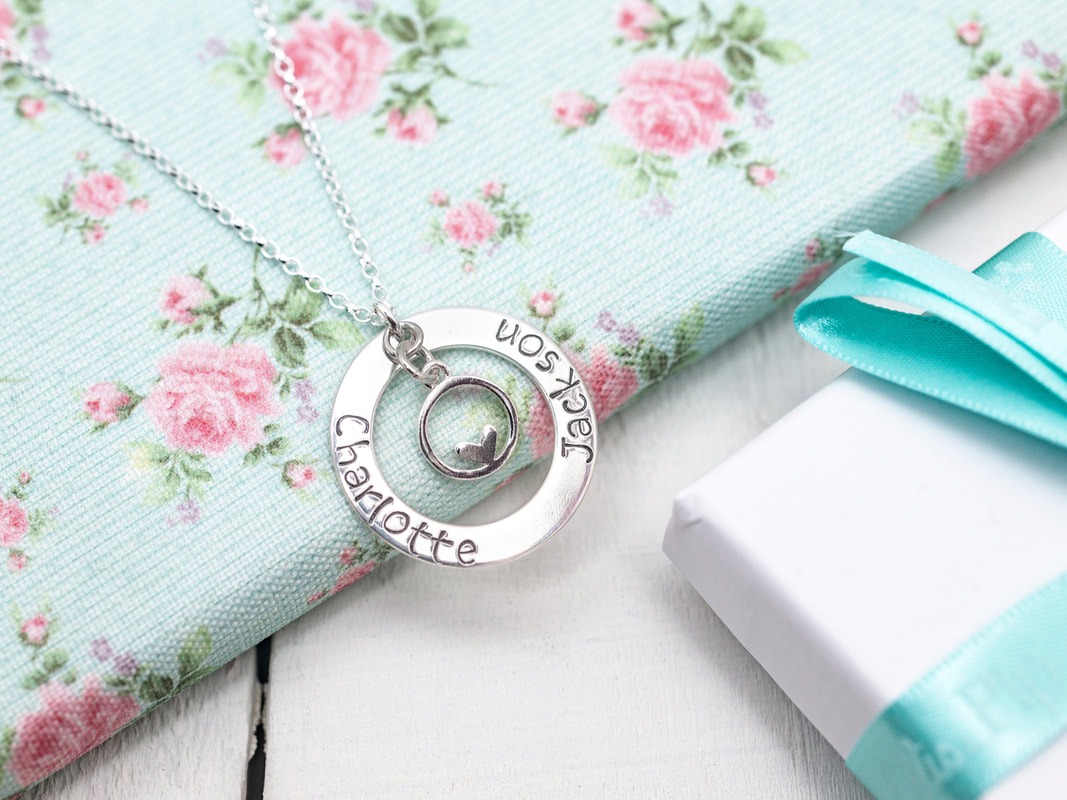
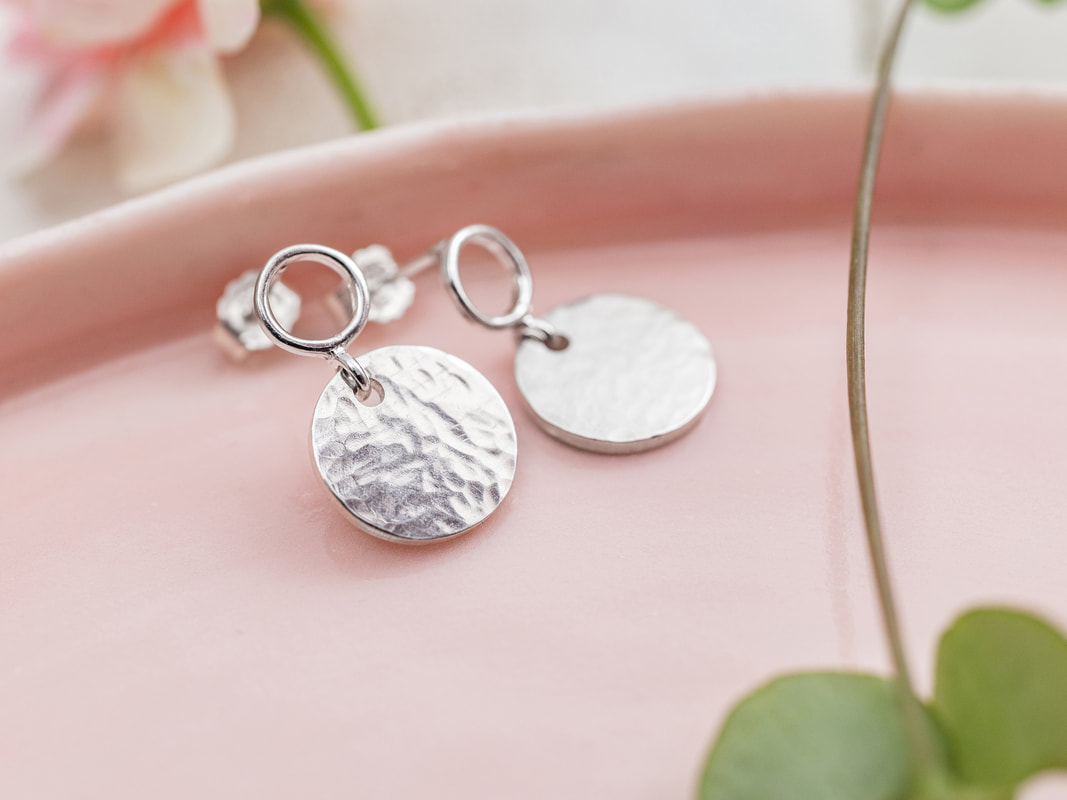
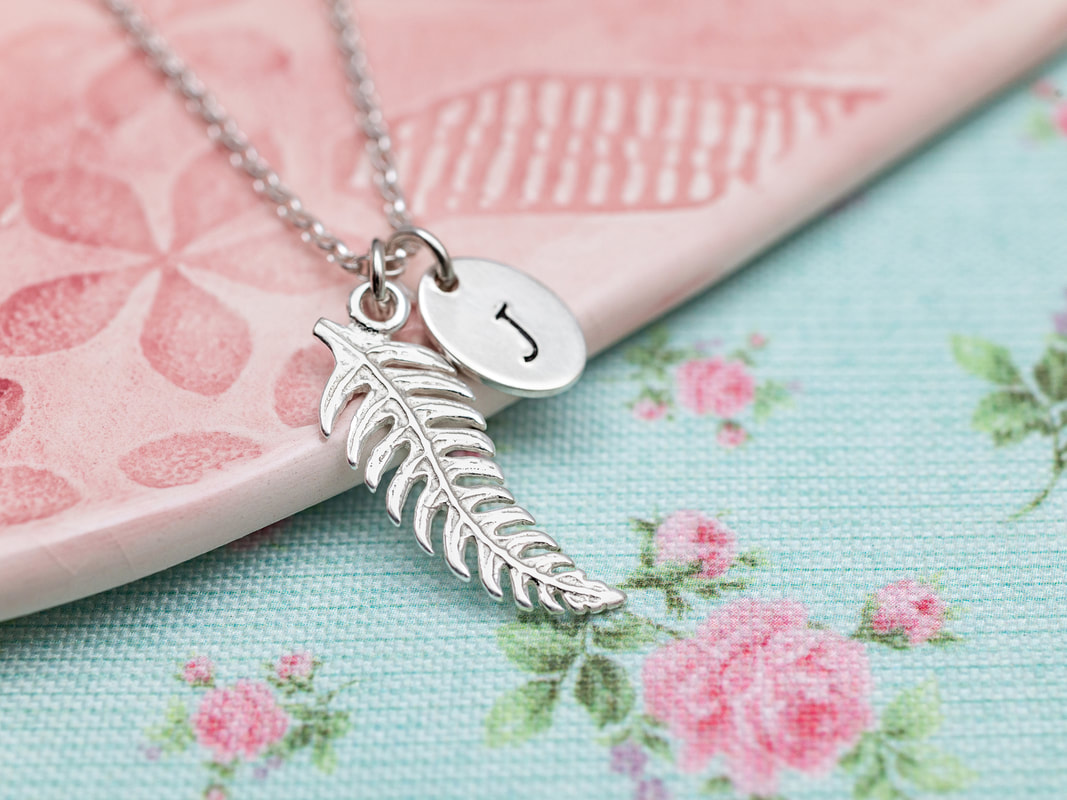
Ellis & Pip is a personalised jewellery brand with a beautiful range of silver, gold and gemstone pieces that are perfect for gifting. Laura got in touch to see if it would be possible to book a custom test shoot package. She wanted to see if I could capture the detail in her work that her current photos lacked.
Laura sent me over her own props so the photos would be in keeping with her shop, and I added some soft pink linen which worked really nicely with these. When I sent over the photos, Laura replied "one word... WOW" and I'm happy to say that we've already got our first full shoot booked for 2023. If you'd like to book a photoshoot you can do so here. |
HelloHere you'll find my latest projects, behind the scenes, tips, DIY projects and more! Categories
All
Past Posts
October 2023
|
Join my newsletter for tips, free printables, special offers and more!
|
JillyJilly is a visual communications studio based in Dundee specialising in brand aesthetics, photography and illustration since 2014.
|
Copyright © 2024 JillyJilly / Jilly Noble
|


